Pipe & Pipeline Inspection
Internal Pipeline pigging
The latest partial saturation low frequency technique MagControl is known for its enormous capabilities of
- High detection capability of localised defects despite heavy wall, coatings or clad
- Its dry inspection capability at low and high wall thickness
- Inspection of clad or lined pipelines
- Excellent inspection of pipes in pipes without sensitivity degradation
- Inspection of multiphase lines
- Its defect sizing capabilities by use of three factors signal phase, signal amplitude and signal pattern.
- Straight detection and distinguishing of defects vs material property changes
- Future capabilities for inspection or emerging fuel pipelines
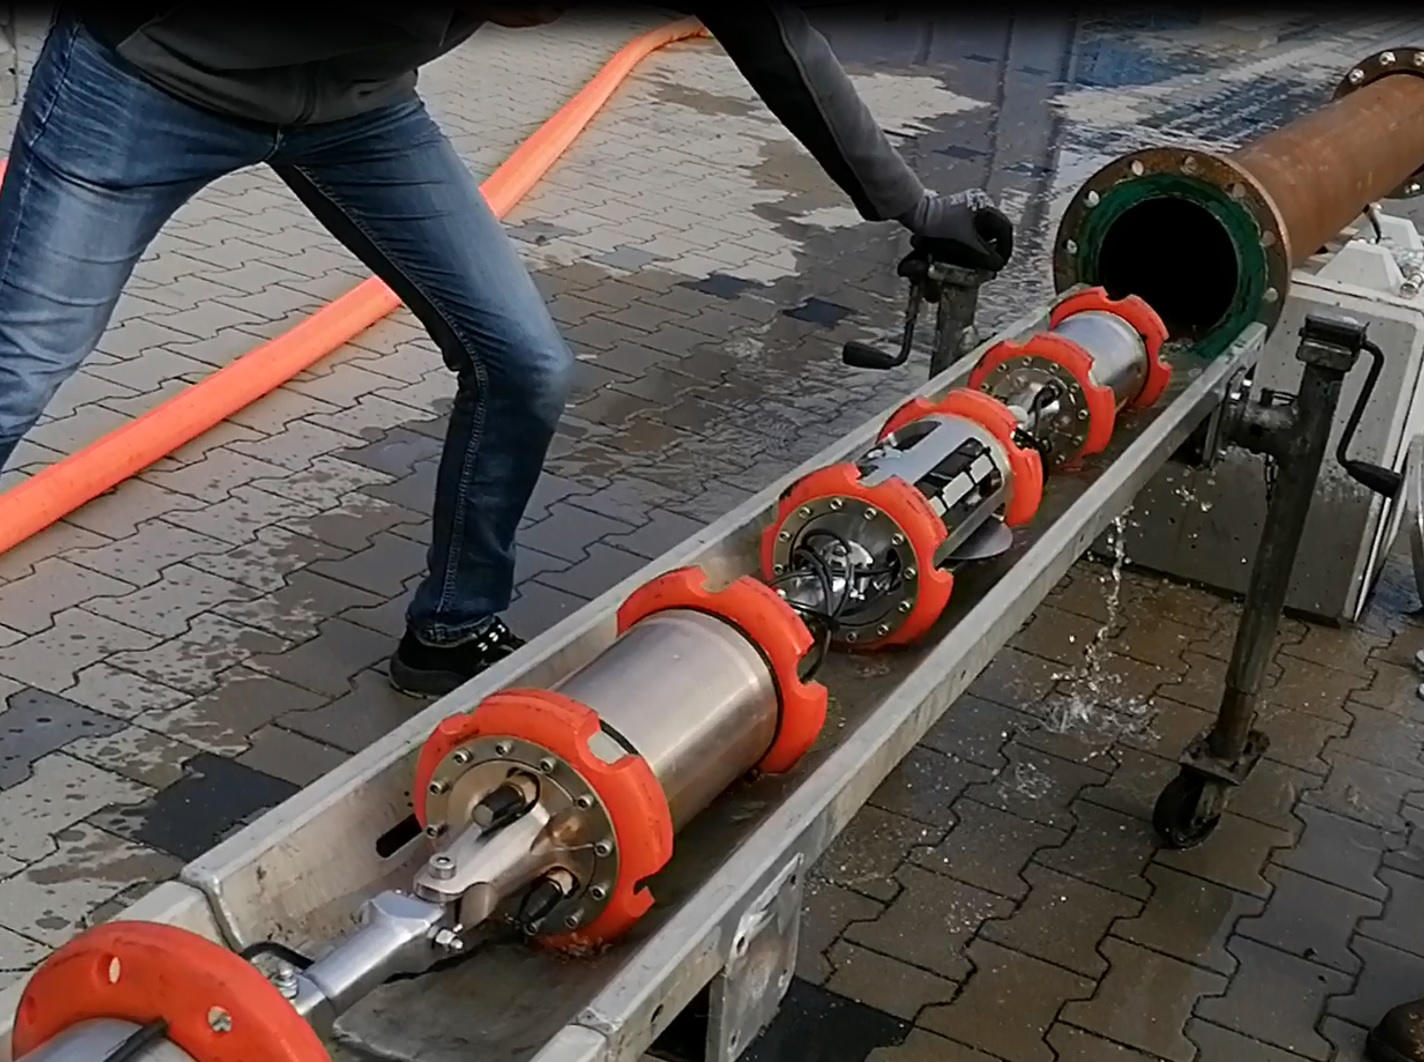
InnetiQs team developed next to tethered pipeline inspection tools the intelligent pig MagPiQ, which versatility of sensor carrier was designed inspection of carrier pipelines as well as the CRA layer of clad pipelines for corrosion and crack detection. The high specifications of typical offshore lines were to be fulfilled as example operations up to 270bar and wall thickness inspection to 1”.
The miniaturized electronics developed by the InnetiQs team comes with a variety of technology novelties as multi-mode- and multi-frequency over high-resolution multi-channel which displays against conventional pipeline pigging a whole new way for absolute detailed pigging data.

External Pipeline Scanning
Beside the internal inspections with the MagControl technique, the same technology with new generation sensor technology is implemented in the external scanner systems. The external pipe scanner fleet InnetiQs developed is capable to scan from 1” diameter to flat with lowest possible wall thickness up towards 1”.
The eddy current based MagControl pipeline inspection systems are able to be used for carbon steel-, Duplex and stainless steel material
The QSR1 & Axial QSR
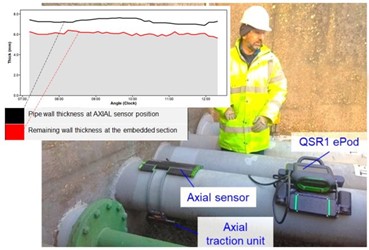
The QSR1 / Axial QSR is our latest inspection system for external pipeline inspection. It uses guided wave Quantitative Short Range (QSR) technology and hardware. The aim of the inspection with the QSR1 is to quantitatively measure the remaining wall thicknesses and corrosion in areas such as under pipe supports. During the inspection, the device is attached on the top of the pipeline and then automatically scans it along its axis sending guided waves around its circumference. In addition to its ability to scan automatically, the scanner is lightweight, battery-operated and easily transportable. The QSR1 system uses EMAT technology to receive and to generate short-range guided waves. The advantage of this non-contact scanning method is that it is relatively surface tolerant and easily repeatable. The data collection process and the scan configuration is controlled using the WaveProQSR Software which is installed on a Windows computer. The QSR1 is a scanning system that delivers reliable data and whose sizing accuracy has already been proven in use in worldwide projects and through third-party technology evaluations. The scanning system can be adjusted for pipe diameters from 6” to 24” and can inspect pipe wall thicknesses from 6mm to 13mm.
The Axial QSR
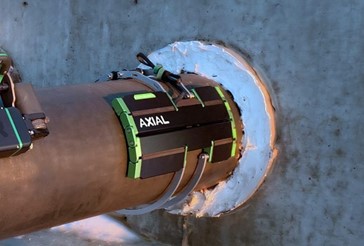
The Axial QSR is an extention of the QSR1 system and was developed especially to cover those inspection cases, where there is little space for the inspection and for the attachment of the inspection tool itself. As a result, the lightweight, flat scanner makes it possible to inspect even in narrow spaces, for example near pipe supports and in pipe racks. The semi-automated scanning system is moving circumferentially around the pipe and uses wide frequency and wavelength technology as well as EMAT technology to send and receive short-range guided waves. A motorized scan is possible for pipe diameters from 6” to 16”; for 4” and 18” to 36” a manual scan can be implemented. The inspection can be carried out for pipe thicknesses between 6mm to 15mm. Like the QSR1, the Axial QSR scanner also uses the WaveProQSRTM software for data collection and the scan configurations.
The Axial QSR Scan delivers accurate information about the corrosion size of the pipe inspected. The two main measurement results are
- The minimum remaining wall thickness within 5cm to 50cm in front of the sensor and
- The average wall thickness directly under the sensor.
The inspection with the Axial QSR is accompanied by our inspection engineers who are specially trained for this inspection system.


